Very few home offices are designed. Most are assembled: a spare desk, an old kitchen chair, a laptop and a hopeful stack of books. That is fine. Ergonomics is less about buying the right furniture than adjusting what you already have until your body stops fighting it.
The four steps below run in order for a reason. Screen height first, then keyboard position, then seat depth, then desk spacing. Each one changes the others, so working through them roughly in sequence saves you readjusting everything twice.
Step 1: Get the screen height right
Start with your eyes, because neck strain is usually the first thing people notice. Sit down properly, with your feet flat and your back against the chair, then look straight ahead. The top of the screen should sit level with your eye line or just below it, so you are looking slightly downwards, perhaps 10 to 20 degrees. Too low and you will drop your chin; too high and you will tilt your head back.
Distance matters as much as height. Aim for roughly an arm's length between your eyes and the screen, about 50 to 70 cm for most people and a little more for a very large monitor. If you are leaning forward to read text, increase the font size rather than your posture.
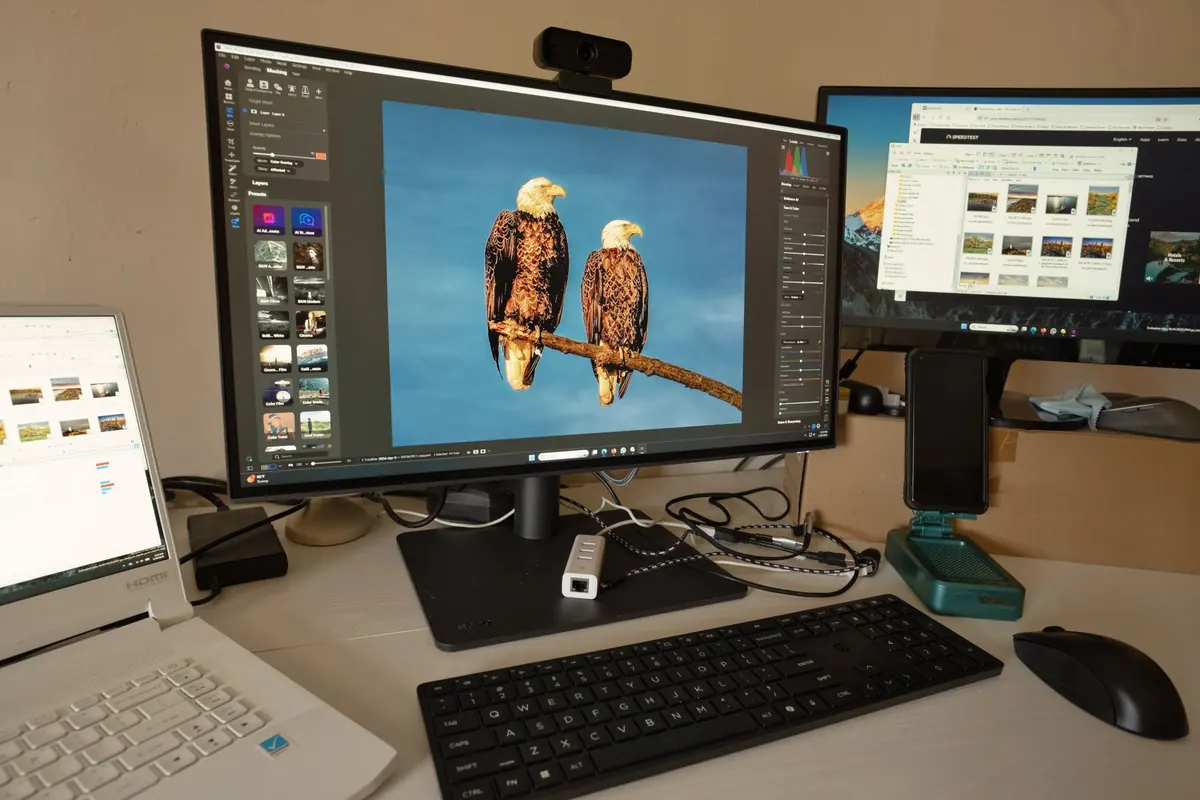
On a laptop, none of this is possible without help, because the screen and keyboard are welded together. Raise the laptop on a stand, a box or a couple of books until the screen sits at the right height, then plug in a separate keyboard and mouse and bring those down to your hands. That single change, laptop up and input devices down, is usually the biggest improvement available in a home office.
Quick checks
- Top of the screen level with or just below your eyes
- Screen tilted back slightly, so it faces your face rather than the ceiling
- No bright window directly in front of or behind the screen
- Monitor straight ahead, about an arm's length away
Step 2: Position the keyboard and mouse
With the screen set, bring your hands to the keyboard. Sit back, let your shoulders drop, and bend your elbows to roughly 90 degrees. Your forearms should be level or sloping gently down towards the keys, never angled upwards.
A keyboard should sit flat, or with a slight negative tilt, meaning the back edge is level with or a touch lower than the front. If the little fold-out feet at the back are raised, fold them down. Wrists should stay straight rather than bending back, and a wrist rest is for pausing on, not leaning on.
The mouse belongs on the same surface as the keyboard, at the same height and within easy reach. Keep your elbow close to your side as you use it. If you have to stretch your arm out to the right, the mouse has drifted too far.
If the keyboard sits too high, lower the desk when it is adjustable. If it is not, raise the chair and add a footrest so your feet stay supported.
Step 3: Set your seat depth
Now the chair. Height first: adjust it so your feet rest flat on the floor and your knees are roughly level with your hips, or slightly lower. If that leaves the desk too high, a footrest under the desk is a better fix than dangling feet.
Then depth. Sit back against the backrest and slide your hand behind your knee. There should be a gap of about two to three fingers, roughly 5 to 7 cm, between the back of your calf and the front edge of the seat. Any less and the edge presses into your legs; any more and you will perch on the front, unsupported.
If the chair is too deep, a cushion or rolled towel behind the small of your back brings you forward. Armrests should let your shoulders relax downwards, so lower them or move them aside if they push your shoulders up.
Step 4: Work out your desk spacing
Depth is the measurement people forget. You want at least 60 cm of usable depth, nearer 80 cm if you can manage it, so the screen can sit at arm's length while the keyboard stays close to you.
Think in arcs. Everything you use regularly belongs within about 40 to 50 cm of your body: keyboard, mouse, notebook, phone. The printer, the coffee and the pile of post can live outside that zone.
Under the desk you need clear knee space, enough width and height to sit with your legs uncrossed and your thighs clear of drawers or a shelf. Many desks are a fixed height of around 73 cm, and if your chair is adjusted correctly you should be close. If not, change the chair and use a footrest rather than compromising your wrists.
A five-minute reset to run each week
- Sit down. Feet flat, knees level with your hips.
- Look straight ahead. Is the top of the screen at or just below eye level?
- Drop your shoulders. Are your elbows at about 90 degrees with forearms level?
- Check your wrists: straight and floating, not bent or resting on the edge.
- Feel behind your knee. Is there a small gap before the seat edge?
- Reach for the mouse without moving your torso. If you cannot, bring it closer.
- Stand up, move for a minute, then sit back down and leave it alone.
When the desk will not cooperate
Not every setup can be perfect, and that is fine. If the desk is fixed and too high, raise the chair and add a footrest. If the room is small, a monitor arm frees up depth and lets you push the screen back when you are not using it. If you only have space for a laptop, at least raise it: a stand and a modest separate keyboard do more for your neck and shoulders than any single purchase.
Give it a week, and get help if it hurts
Set everything once, then leave it alone for a week. Your body needs time to notice the difference, and constant fiddling makes it hard to tell what is working. The one thing worth changing daily is your position rather than your setup: stand up roughly every half hour, look away from the screen, and let your eyes focus on something further away.
If you develop persistent pain, numbness or tingling in your neck, shoulders, wrists or hands, do not try to fix it with cushions alone. See a GP or a physiotherapist. A good setup reduces strain; it does not treat an injury.
Photo: Tom Fisk / Pexels